Engine Installation and fuel
injection
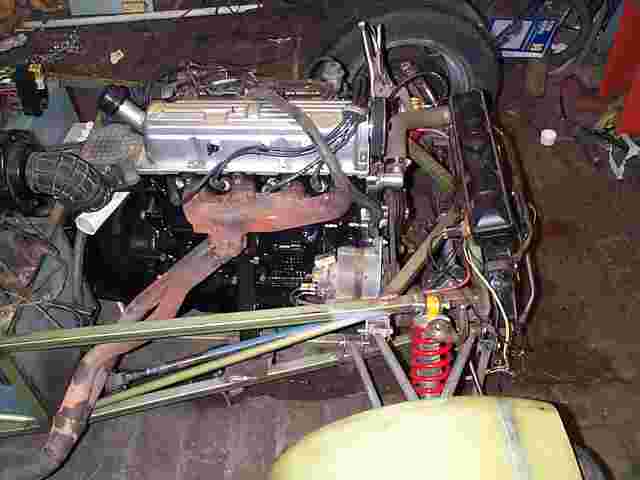
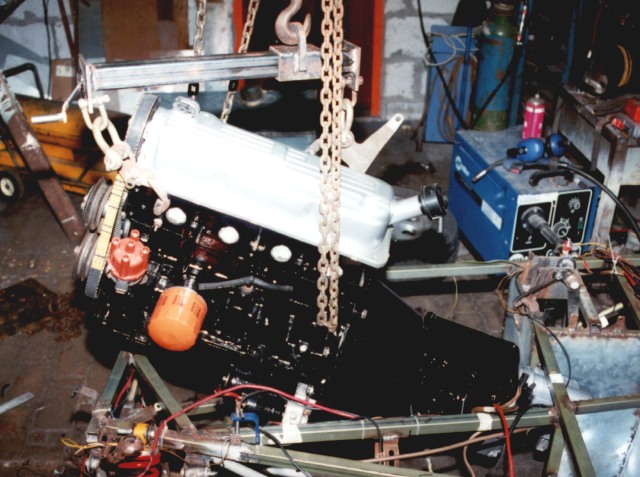
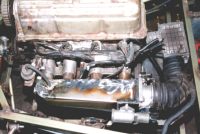
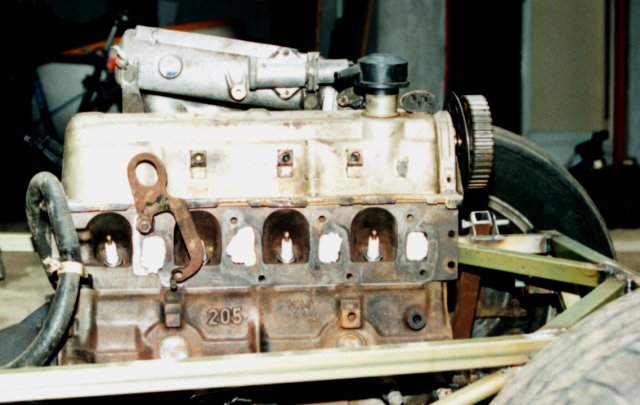
 The plenum chamber for the EFI
was proving to be a problem. As you can see it sticks up above the
engine by quite a long way. In the SVA nothing is allowed to project
above the windscreen lower plane, which is a line of sight from the
driver's seat. With this engine the line goes through the middle of the
oil filler cap.
The plenum chamber for the EFI
was proving to be a problem. As you can see it sticks up above the
engine by quite a long way. In the SVA nothing is allowed to project
above the windscreen lower plane, which is a line of sight from the
driver's seat. With this engine the line goes through the middle of the
oil filler cap.
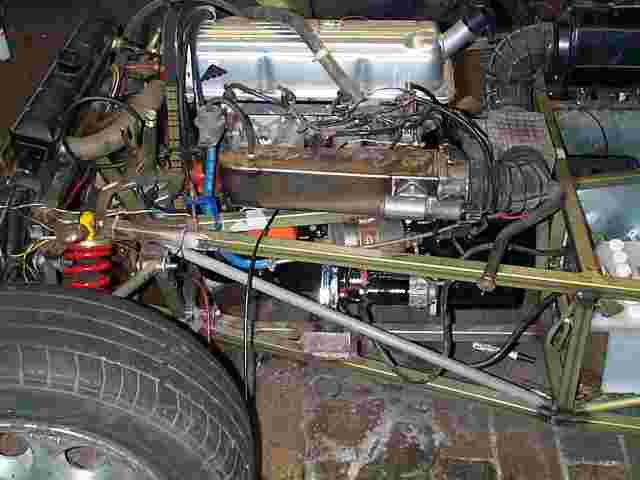
 This is the view from the
drivers seat. As you can see the plenum chamber does obstruct vision
quite badly.
This is the view from the
drivers seat. As you can see the plenum chamber does obstruct vision
quite badly.
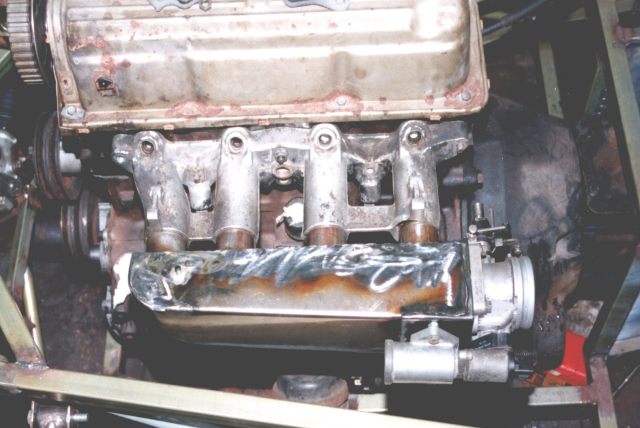
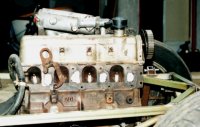
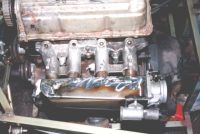 I radically modified the
plenum chamber to reduce the bonnet height. The shorter inlet stubs
will probably reduce bottom end torque but may increase torque at higher
revs. The modification is made out of steel with the steel tubes a
shrink fit in the machined out aluminium manifold.
I radically modified the
plenum chamber to reduce the bonnet height. The shorter inlet stubs
will probably reduce bottom end torque but may increase torque at higher
revs. The modification is made out of steel with the steel tubes a
shrink fit in the machined out aluminium manifold.

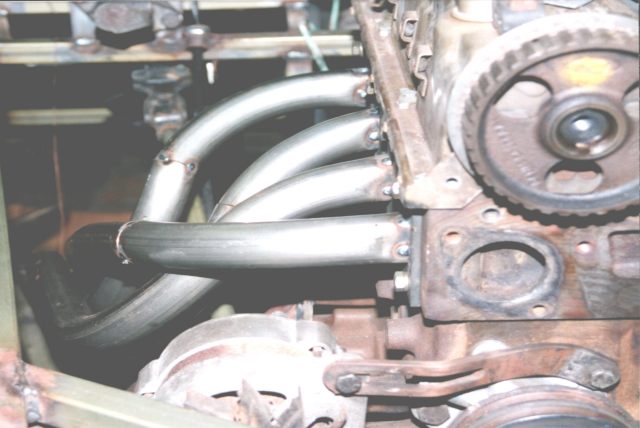
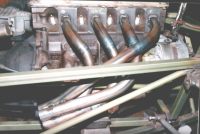 This is how far I have got making up the exhaust. The
headers are 35mm OD, 1.6mm wall pipe, bent on a hand pipe bender and
gas welded for neatness and minimal intrusion into the bore of the
pipe.
This is how far I have got making up the exhaust. The
headers are 35mm OD, 1.6mm wall pipe, bent on a hand pipe bender and
gas welded for neatness and minimal intrusion into the bore of the
pipe.
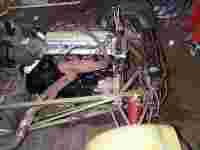
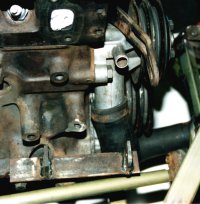 There is very little room for
the alternator so I ended up using a Lucas 17ACR alternator as fitted
to many small Ford and Austin/Rover cars. These alternators are smaller
then the original Bosch alternator and are very cheap. In fact is
cheaper to buy a new one than repair an old one! I had to make a bracket
to fit the alternator and cut away one of the mounting lugs on the block
to move the alternator close enough to the engine to clear the
chassis.
There is very little room for
the alternator so I ended up using a Lucas 17ACR alternator as fitted
to many small Ford and Austin/Rover cars. These alternators are smaller
then the original Bosch alternator and are very cheap. In fact is
cheaper to buy a new one than repair an old one! I had to make a bracket
to fit the alternator and cut away one of the mounting lugs on the block
to move the alternator close enough to the engine to clear the
chassis.
Note: Cortina water pumps are light alloy and Sierra ones are great big
lumps of cast iron. The only other difference between them is the
position of the alternator adjuster bracket If you are on a weight
saving mission this is an easy way to lose some. The bracket looks
simple but it took me most of an afternoon to get the dimensions just
right. Here are a set of
drawings for the bracket in DXF format.
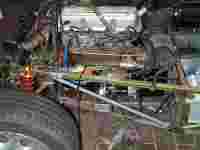
 I used the Sierra engine mounts with fabricated brackets. These mounts
are too soft and allow a lot of engine movement. I will fit Land Rover
engine mounts as they are cheap and a lot more solid. They are also a
lot smaller which allows me a bit more clearance for the starter
motor.
I used the Sierra engine mounts with fabricated brackets. These mounts
are too soft and allow a lot of engine movement. I will fit Land Rover
engine mounts as they are cheap and a lot more solid. They are also a
lot smaller which allows me a bit more clearance for the starter
motor.
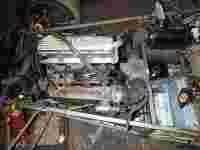
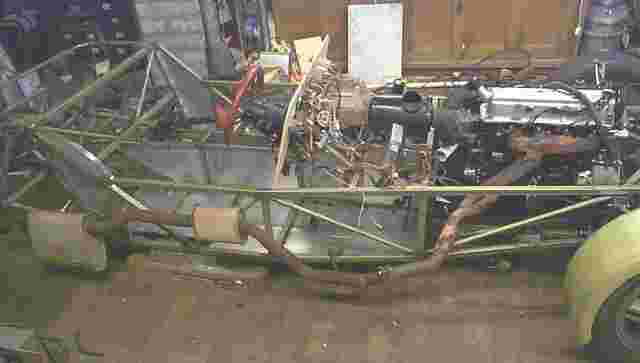
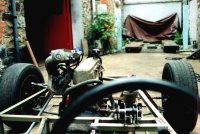
The engine has now been rebuilt, painted and the fuel injection has
been plumbed in.
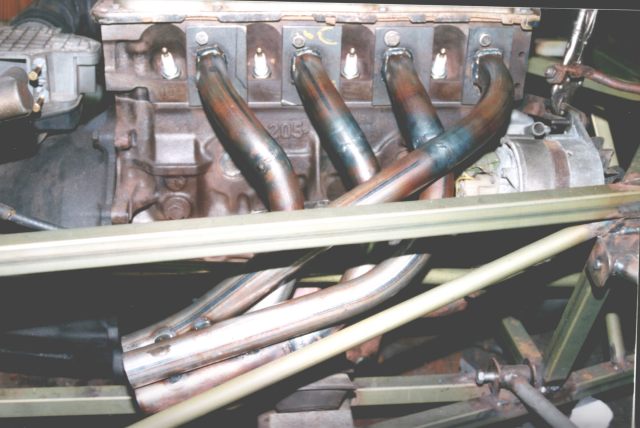
 Do I get the prize for the
wonkiest exhaust? Don't worry - this is purely for testing. Running
the engine on open headers is very bad for your hearing! It may not
look good but it only took me half an hour to make.
Do I get the prize for the
wonkiest exhaust? Don't worry - this is purely for testing. Running
the engine on open headers is very bad for your hearing! It may not
look good but it only took me half an hour to make.
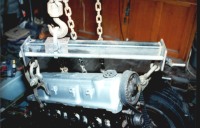
 I was at a car show a while back
and saw an engine balancer for sale. Being a Locoster through and
through I thought "I can make one of them" and this is the result. It
allows the engine to be tipped forwards and backwards with ease. The
engine can be tilted to just the right angles needed to install it
without scratching the paint. Here
is a set of plans for the balancer.
I was at a car show a while back
and saw an engine balancer for sale. Being a Locoster through and
through I thought "I can make one of them" and this is the result. It
allows the engine to be tipped forwards and backwards with ease. The
engine can be tilted to just the right angles needed to install it
without scratching the paint. Here
is a set of plans for the balancer.
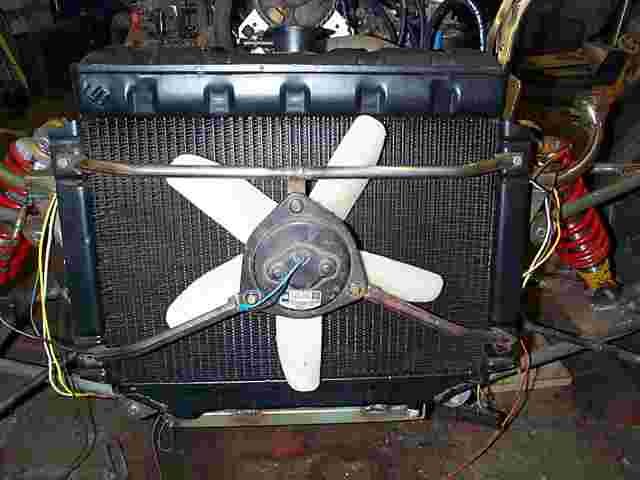
 I used an uprated Escort
radiator that a local radiator rebuilder had on sale as old stock. The
fan is off of a japanese car, I don't know which as I saw it lying in
the mud at my local scrap yard. It is very thin and ideally suited to
the job, though I had to turn the blades round and reverse the supply to
make it push rather than pull
I used an uprated Escort
radiator that a local radiator rebuilder had on sale as old stock. The
fan is off of a japanese car, I don't know which as I saw it lying in
the mud at my local scrap yard. It is very thin and ideally suited to
the job, though I had to turn the blades round and reverse the supply to
make it push rather than pull
 The plenum chamber for the EFI
was proving to be a problem. As you can see it sticks up above the
engine by quite a long way. In the SVA nothing is allowed to project
above the windscreen lower plane, which is a line of sight from the
driver's seat. With this engine the line goes through the middle of the
oil filler cap.
The plenum chamber for the EFI
was proving to be a problem. As you can see it sticks up above the
engine by quite a long way. In the SVA nothing is allowed to project
above the windscreen lower plane, which is a line of sight from the
driver's seat. With this engine the line goes through the middle of the
oil filler cap.