 The
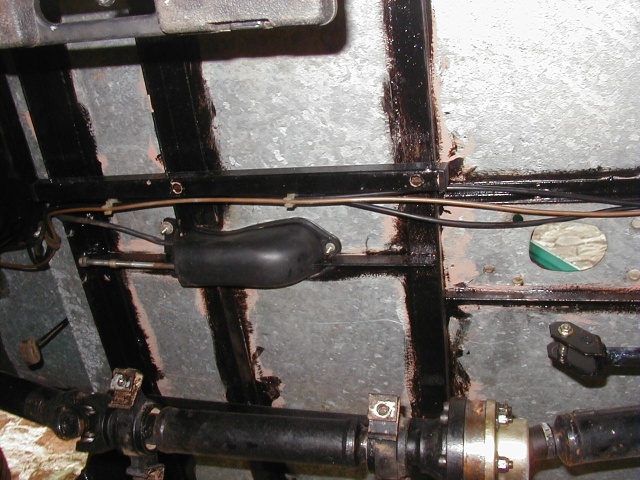
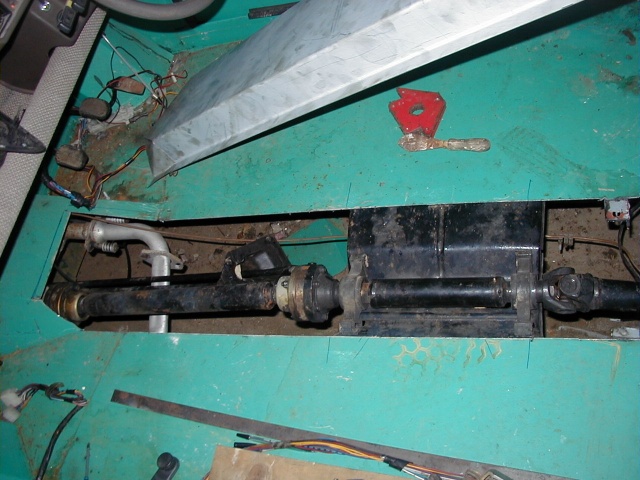
prop shaft centre bearing is mounted on a substantial angle iron frame.
This may be strong but it takes up an awful lot of space and the angle iron
is likely to get hooked up on rocks.
The
prop shaft centre bearing is mounted on a substantial angle iron frame.
This may be strong but it takes up an awful lot of space and the angle iron
is likely to get hooked up on rocks.
The
prop shaft centre bearing is mounted on a substantial angle iron frame.
This may be strong but it takes up an awful lot of space and the angle iron
is likely to get hooked up on rocks.
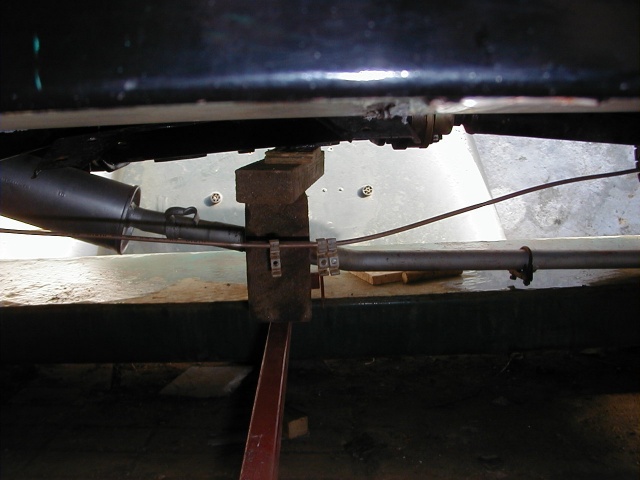
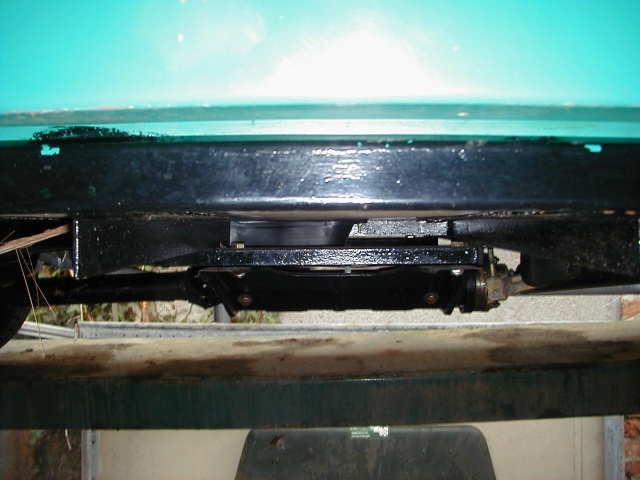 Here
you can see how far the prop sticks down below the floor line
Here
you can see how far the prop sticks down below the floor line
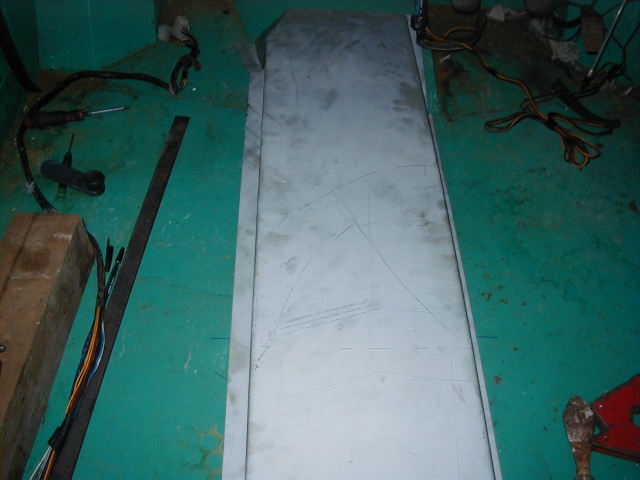
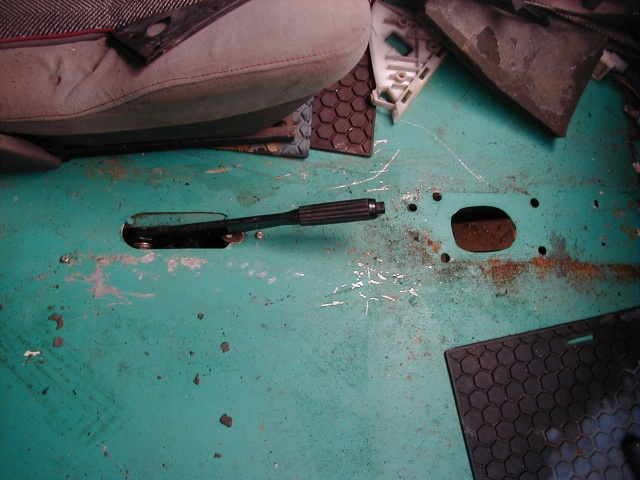 The
floor in the Torino is flat. There is plenty of room for a tunnel as the seats
need to be raised up about 100mm off the floor anyway.
The
floor in the Torino is flat. There is plenty of room for a tunnel as the seats
need to be raised up about 100mm off the floor anyway.
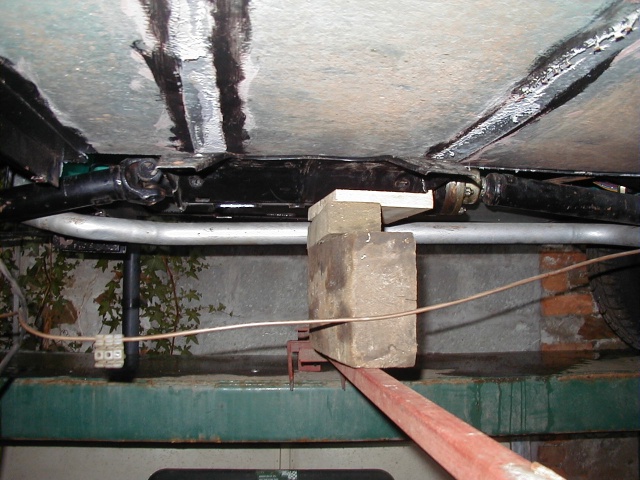
 Stage 1: Cut off all of the angle iron then chop out the floor so we can see
where everything will sit. A plasma cutter is a fantastic tool for this job! The
prop cannot sit right up inside the tunnel because the joint angles will end
up too great resulting in vibration and possible failure. As you can see the
exhaust is now the lowest point. This isn't good but there isn't much I can
do about it.
Stage 1: Cut off all of the angle iron then chop out the floor so we can see
where everything will sit. A plasma cutter is a fantastic tool for this job! The
prop cannot sit right up inside the tunnel because the joint angles will end
up too great resulting in vibration and possible failure. As you can see the
exhaust is now the lowest point. This isn't good but there isn't much I can
do about it.
 This
is pretty much the same view as above. As you can see the prop is a lot
higher.
This
is pretty much the same view as above. As you can see the prop is a lot
higher.
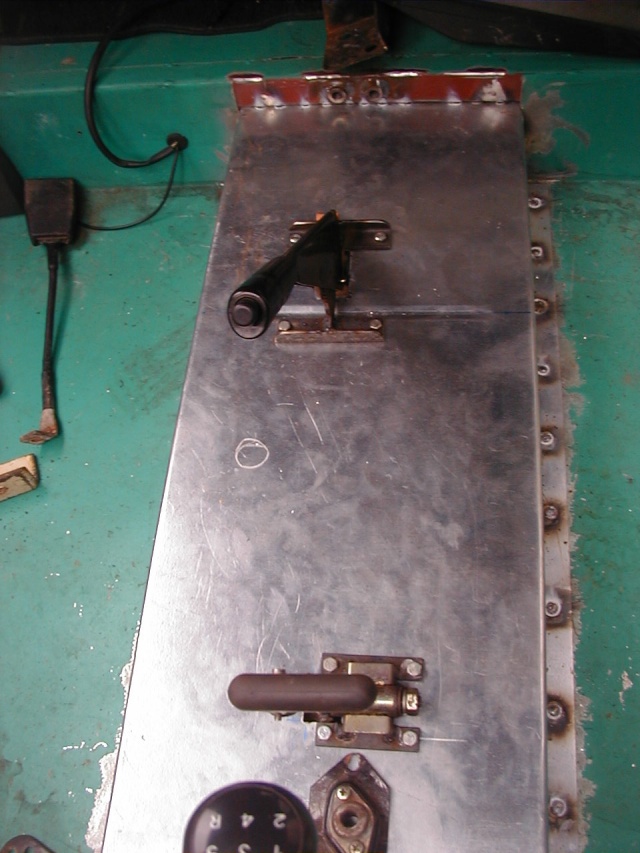
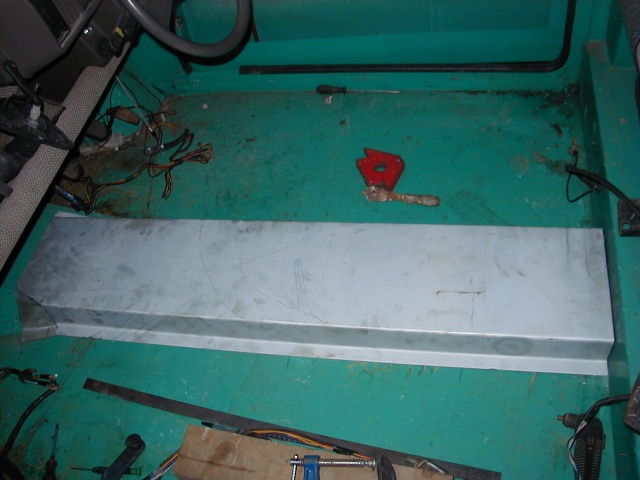 Here
is the made up tunnel. It is folded up out of 1mm Zintec coated mild steel.
The join where it meets the small tunnel in the front is a bit untidy but this
is an off-roader and you won't see it under the mud :-).
Here
is the made up tunnel. It is folded up out of 1mm Zintec coated mild steel.
The join where it meets the small tunnel in the front is a bit untidy but this
is an off-roader and you won't see it under the mud :-).
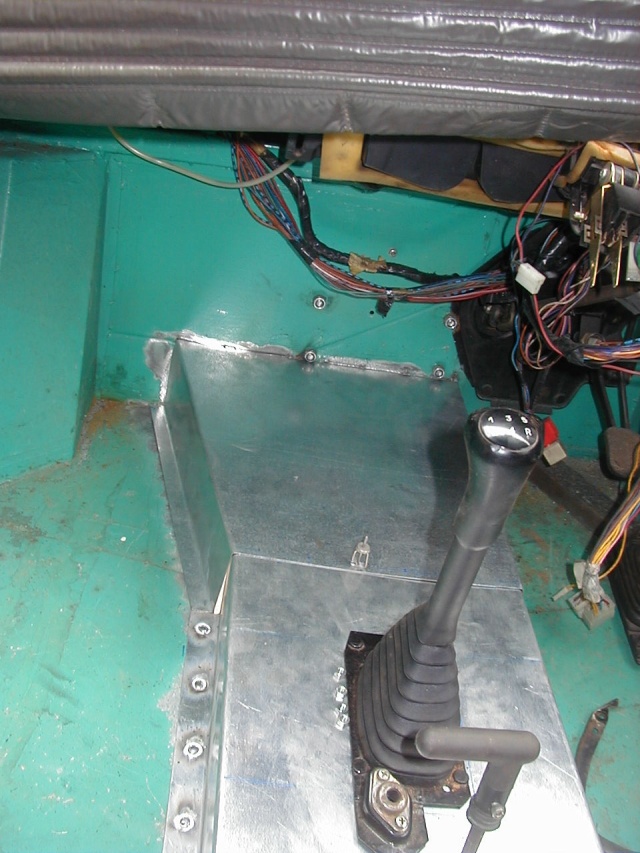
 The
next day, after thinking about the exhaust problem I came to the obvious conclusion:
Run it down the tunnel as well! Unfortunately there isn't enough roon in this
tunnel so it looks like time for tunnel MK2. Sorry about the slighty odd camera
angles!. This one is made of 1mm galvanised (I ran out of Zintec). It is deeper
and wider. In these pics the rear section is welded in and the handbrake, gearchange
and 4x4 lever are all in place. Once the tunnel is fully welded in it will
be stronger than the original frame and much lighter.
The
next day, after thinking about the exhaust problem I came to the obvious conclusion:
Run it down the tunnel as well! Unfortunately there isn't enough roon in this
tunnel so it looks like time for tunnel MK2. Sorry about the slighty odd camera
angles!. This one is made of 1mm galvanised (I ran out of Zintec). It is deeper
and wider. In these pics the rear section is welded in and the handbrake, gearchange
and 4x4 lever are all in place. Once the tunnel is fully welded in it will
be stronger than the original frame and much lighter.
 Here
are the gearchange and 4x4 linkages. The original 4x4 mechanism uses a pivoting right
angled lever arrangement so the 4x4 handle moves up and down. With my tunnel
arrangement this mechanism won't fit. Instead I use a simple lever with a pivot in
the middle so the lever now moves forward and back. It has quite a short travel
but the movement is nice and positive. The rather rusty looking bar is the extended
pushrod. As you can see it has to wrap around the gearchange linkages.
Here
are the gearchange and 4x4 linkages. The original 4x4 mechanism uses a pivoting right
angled lever arrangement so the 4x4 handle moves up and down. With my tunnel
arrangement this mechanism won't fit. Instead I use a simple lever with a pivot in
the middle so the lever now moves forward and back. It has quite a short travel
but the movement is nice and positive. The rather rusty looking bar is the extended
pushrod. As you can see it has to wrap around the gearchange linkages.
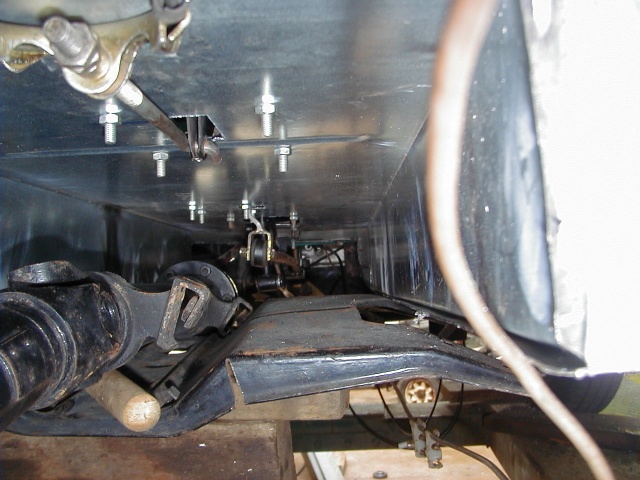 After
all that work you can see there is a nice space for the exhaust to fit
down. To keep heat under control the exhaust will be wrapped with heat
insulating tape. I intend to change the exisitng 1l engine to a fuel injected 1.2l
Fiat Punto engine. This engine has a lot more torque at low revs which is very
useful off road. Unfortunately cars fitted with this engine have a catalyst.
For SVA, if the engine was originally fitted with a cat then it must have one.
As I have no room for the cat this is a problem. To get around the problem the
current engine will be used to pass the SVA then I will change it at a later
date.
After
all that work you can see there is a nice space for the exhaust to fit
down. To keep heat under control the exhaust will be wrapped with heat
insulating tape. I intend to change the exisitng 1l engine to a fuel injected 1.2l
Fiat Punto engine. This engine has a lot more torque at low revs which is very
useful off road. Unfortunately cars fitted with this engine have a catalyst.
For SVA, if the engine was originally fitted with a cat then it must have one.
As I have no room for the cat this is a problem. To get around the problem the
current engine will be used to pass the SVA then I will change it at a later
date.
Now the prop shaft has been moved, all of the joint angles are wrong. To fix this both the engine and back axle will have to be relocated. Here is the page that deals with the problem.