Information on baffling a sump for racing
I used a scriber on a stand to mark round the sump, level with the bellhousing and then cut along the line. I refitted the sump on the engine and cut the oil pick-up and welded the tube so that the pickup was about 6mm below the sump cut line. Watch out- the pickup is brazed onto it's support bracket. You have to remove every trace of the brazing before trying to weld it- braze and mig weld don't mix.
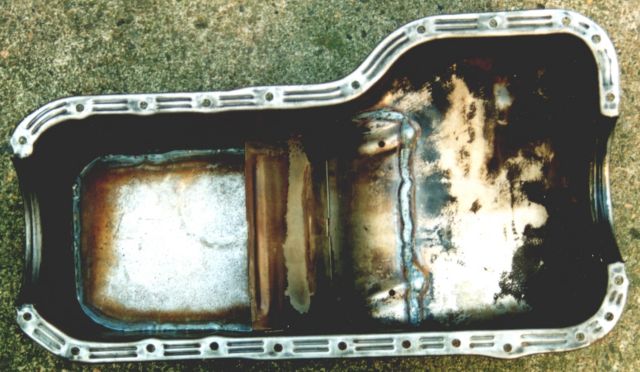
I welded part of another sump onto the shallow part of the sump to recover lost volume. I drilled two vent holes in the highest part to allow the trapped air to escape when the sump is filled. You can just see them in the diagonal ridges by the weld line in the picture above. From what I have heard this added volume is not really needed but it saved me making up a drain plug.
I then placed the sump on a piece of sheet steel and scribed round the inside of the sump. I cut out the steel and fitted it inside the sump, a couple of millimetres back from the cut line to give something to weld to.
You can check the clearance between the pickup and the sump after tacking in the bottom by placing a piece of plasticene or putty on the pickup and then fitting the sump. My pickup was a bit too close and I had to make a bulge in the sump for the pickup to fit into. It might be better to weld the pickup about 8mm back from the cut line instead of 6mm as I did.