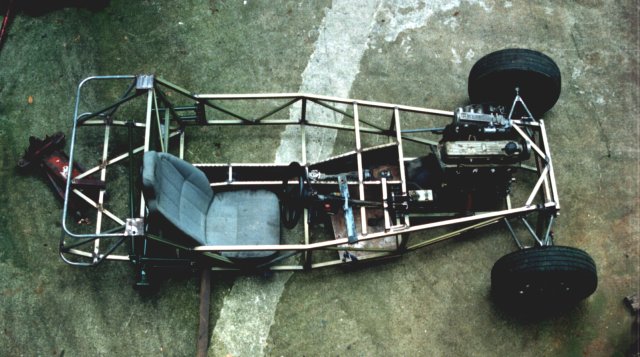
 This is the chassis from above with a
Bedford Rascal seat approximately in position. The frame of the seat
has been narrowed and I have yet to reduce the width of the cushions
and make new covers.
This is the chassis from above with a
Bedford Rascal seat approximately in position. The frame of the seat
has been narrowed and I have yet to reduce the width of the cushions
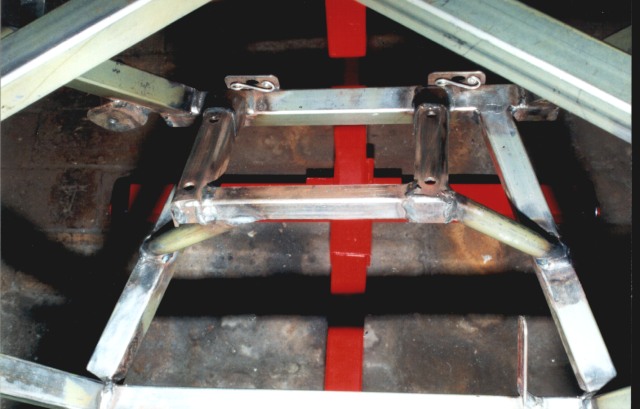
and make new covers. 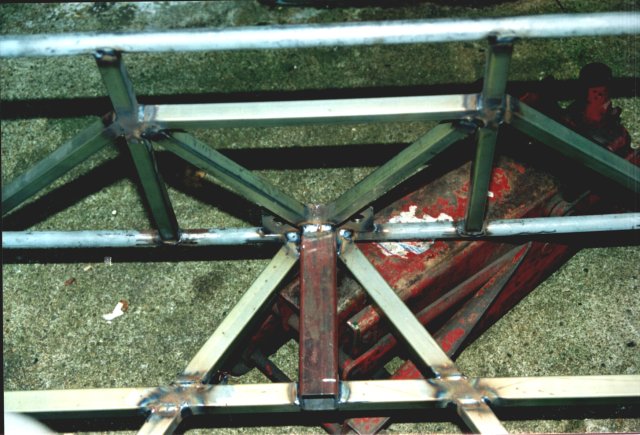 The bracing on the back has been changed to
add strength to the towbar (towbar on a locost??!) and provide a little
bit if rear impact protection.
The bracing on the back has been changed to
add strength to the towbar (towbar on a locost??!) and provide a little
bit if rear impact protection. 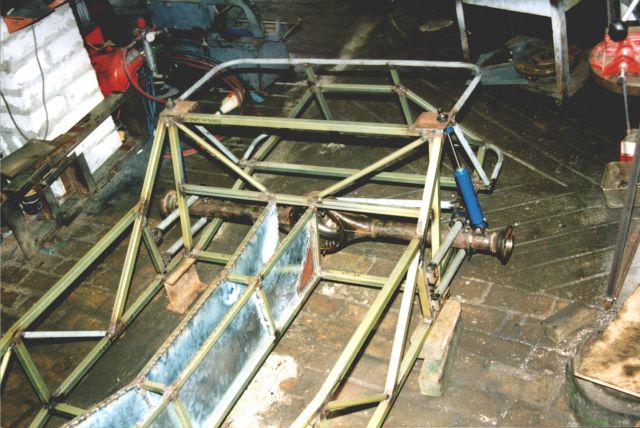 The
back end of the chassis with the rear suspension in place
The
back end of the chassis with the rear suspension in place 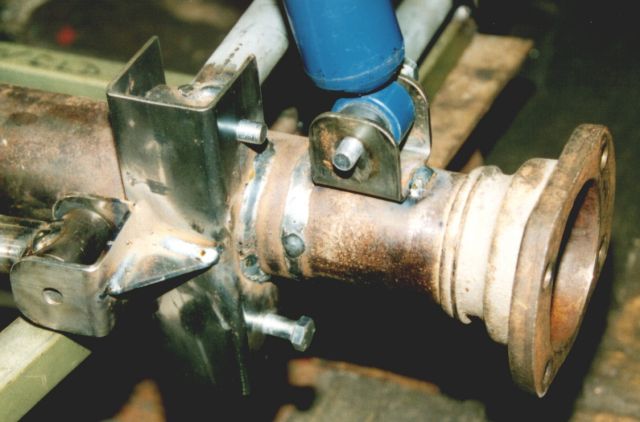 One
end of the axle showing the Cortina axle tube welded into the end of
the Escort axle.Cortina tubes are smaller diameter than Escort ones, but
much thicker walled. I have used Cortina half-shafts to end up with
Cortina track but the diff can be easily changed. The Escort axle is
also lighter than the Cortina axle. Note: the shock mount is only
tacked on.
One
end of the axle showing the Cortina axle tube welded into the end of
the Escort axle.Cortina tubes are smaller diameter than Escort ones, but
much thicker walled. I have used Cortina half-shafts to end up with
Cortina track but the diff can be easily changed. The Escort axle is
also lighter than the Cortina axle. Note: the shock mount is only
tacked on. 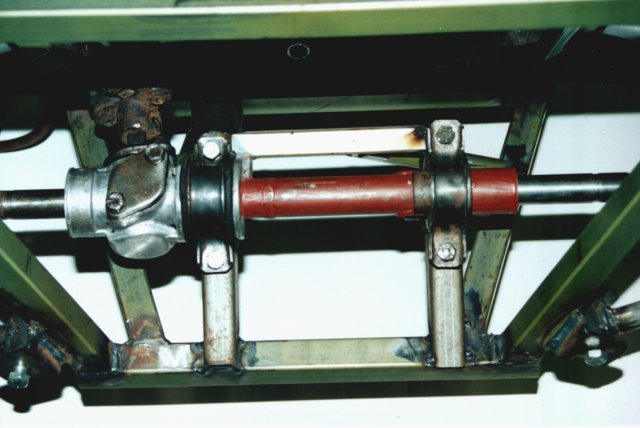
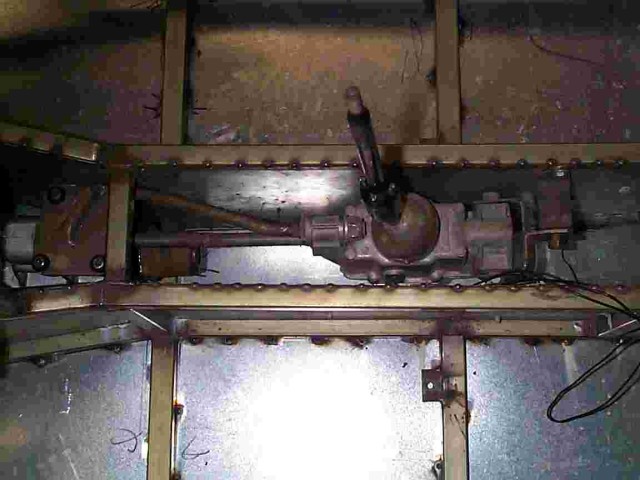
 I
used a rather more solid rack mounting than in the book as I think Ron's
mounts are a bit weak.
I
used a rather more solid rack mounting than in the book as I think Ron's
mounts are a bit weak. 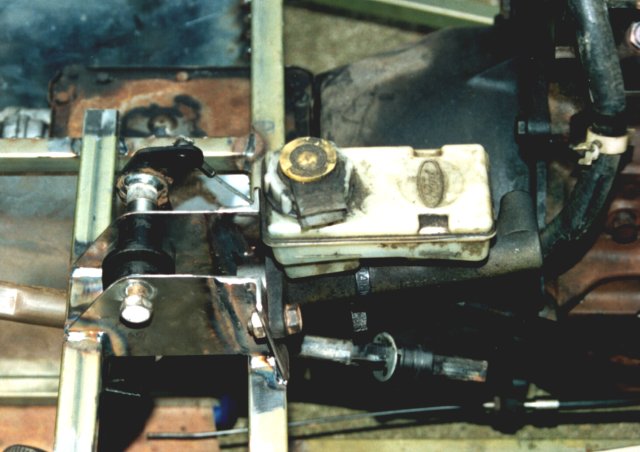
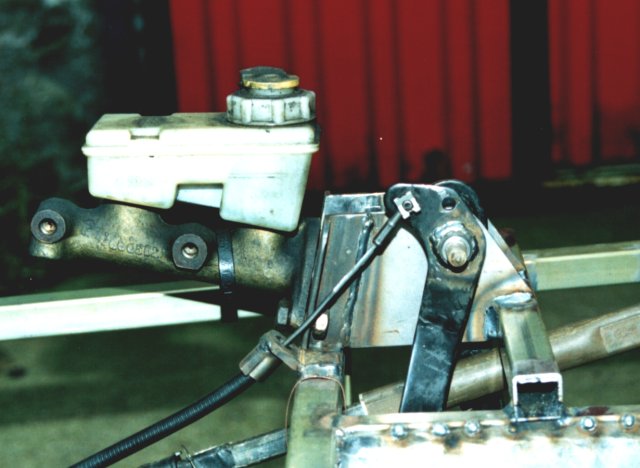 The pedalbox uses Fiat Uno pedals (I happened to have them) and a Sierra
master cylinder without the servo.
The pedalbox uses Fiat Uno pedals (I happened to have them) and a Sierra
master cylinder without the servo. 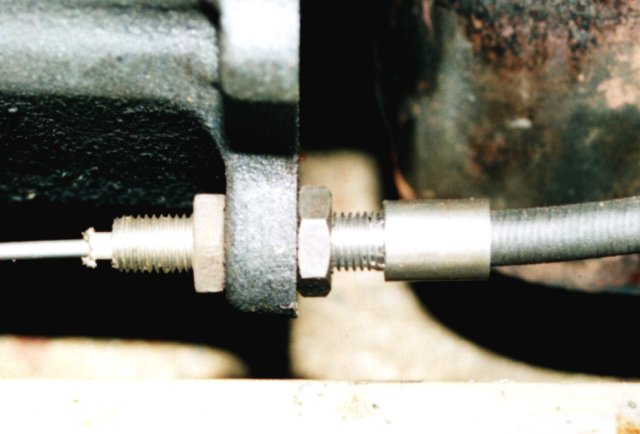 I have been told that the Sierra
automatic clutch adjuster has a tendency to break so I made a manual
adjuster to fit on the bellhousing. I later found a cable, complete
with adjuster and fittings that was ideal for the job. I was told it
was from a Cortina but I cannot guarantee that is actually the case.
I have been told that the Sierra
automatic clutch adjuster has a tendency to break so I made a manual
adjuster to fit on the bellhousing. I later found a cable, complete
with adjuster and fittings that was ideal for the job. I was told it
was from a Cortina but I cannot guarantee that is actually the case. 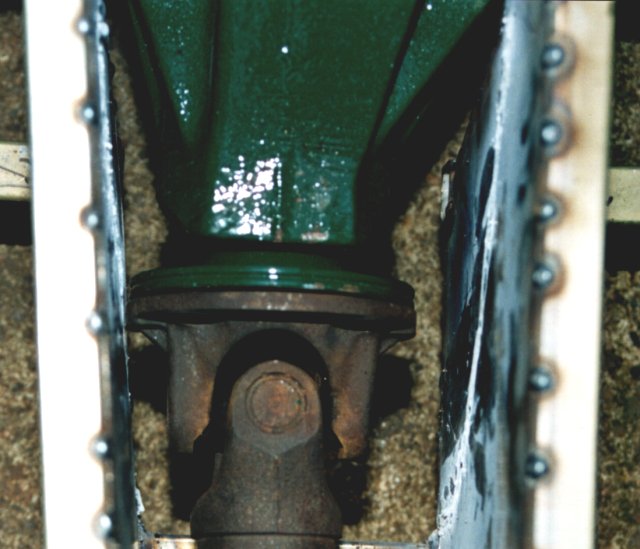 The diff flange is very close to the tunnel on the driver's side so it
may be time to get out the 2lb persuader to make a bit more room. The
tunnel will be panelled on the outside with vinyl covered hardboard so
the bump in the inside panelling will not show.
The diff flange is very close to the tunnel on the driver's side so it
may be time to get out the 2lb persuader to make a bit more room. The
tunnel will be panelled on the outside with vinyl covered hardboard so
the bump in the inside panelling will not show. 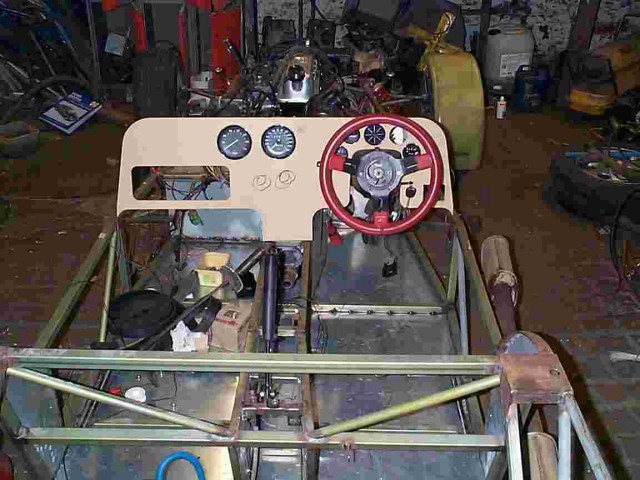
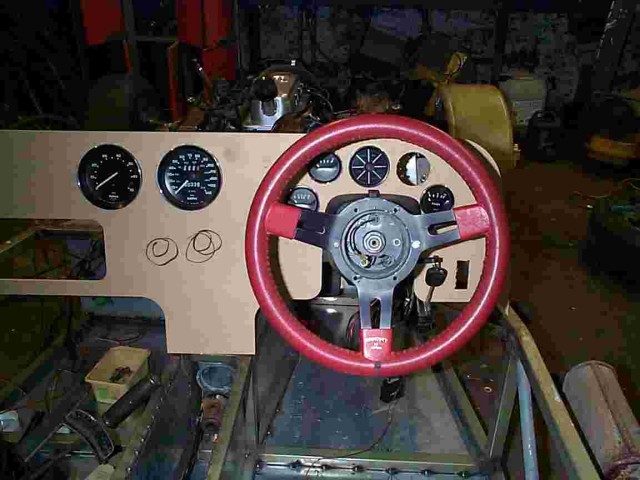 The prototype dash
propped in place. I have access to a CNC router so I can play around
with shapes as much as I like!
The prototype dash
propped in place. I have access to a CNC router so I can play around
with shapes as much as I like! 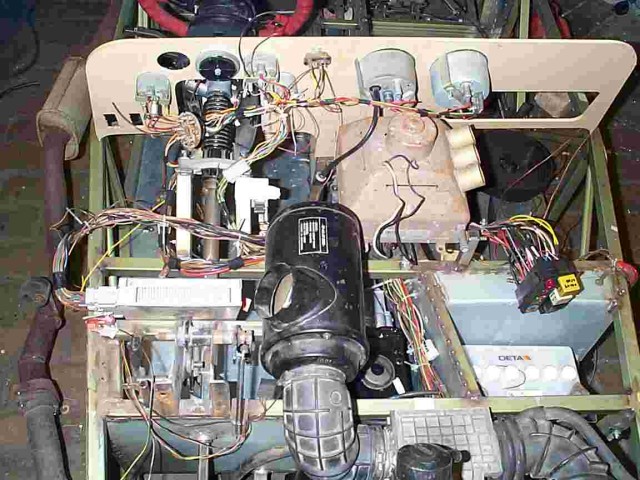 Loadsa wiring! I do not know
what the heater was out of but it is ideal for the Locost (£5.00
brand new from a local farmer!). Note the battery position. I used a
smaller battery than the original but it is a good quality, high
capacity unit.
Loadsa wiring! I do not know
what the heater was out of but it is ideal for the Locost (£5.00
brand new from a local farmer!). Note the battery position. I used a
smaller battery than the original but it is a good quality, high
capacity unit.  The handbrake lever pushes
the handbrake cable forwards as there is no room to pull the cable.
The handbrake lever pushes
the handbrake cable forwards as there is no room to pull the cable. 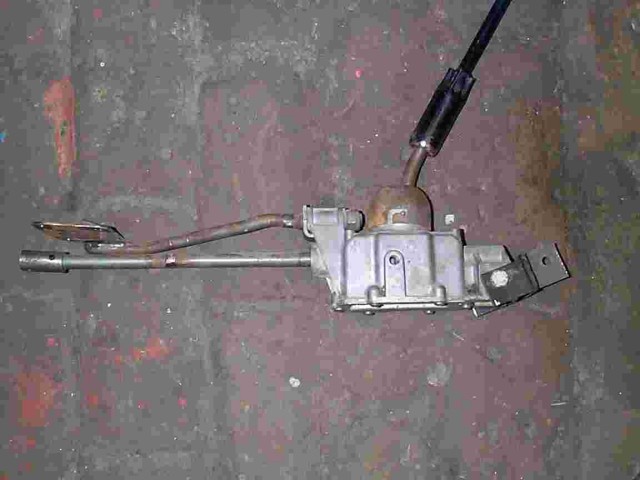
 I modified a Mini
gearchange mechanism to form a remote gearchange extension.
I modified a Mini
gearchange mechanism to form a remote gearchange extension. 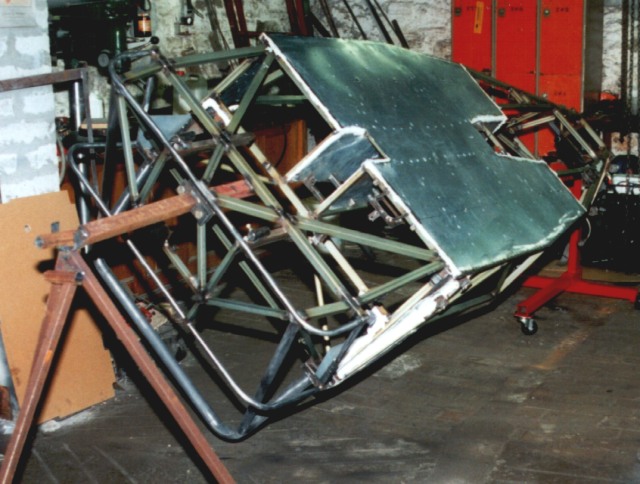

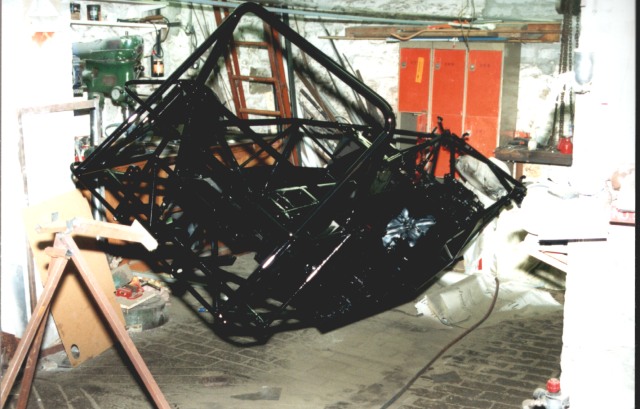
Here is the chassis mounted on an engine stand and a pivot so it can be rotated for easy access for painting. This was well worth doing and saved an awful lot of effort, trying to turn the chassis over without scratching paint etc..